Finally, we get into the home stretch of my Wave I reviews. The Destroids are the models I bought the most of, for various battletech reasons.
Edit: Palladium Books has released updated assembly instructions for the Defender (and other units), which you can find on DrivethruRPG (here) for free.
Previous Posts: Part I, Part II
Next Posts:
I started a great photo-set with my sprues of Defenders months ago. I just burned out on dealing with the damned things when I started my first Phalanx. Wound up throwing the entire mess of Destroids into a box for a couple of months in sheer frustration. To be frank, I was getting pissed just looking at the models. That’s a very bad place to be as a reviewer, and a worse one as a hobbyist. So, yeah.
That’s really about half the review right there.
`
Generally speaking, the Destroid models are more poseable than the Valkyries or Glaug. There’s also no less Procrustean modeling, so you aren’t specifically forced to keep half the weapons in a fixed position. The joint layout makes magnetizing the arms and weapons very easy, which means you can even repose during a game if you want.
Unfortunately, they’ve also got insanely high part counts, with unsightly seams everywhere on most of the models. And, though the feet on the Defender, Tomahawk, and Phalanx are essentially identical, each sprue uses a slightly different and incompatible connection method for the ankle joint, reducing your posing options.
We’ll start off with the Defenders, because I actually have a full photoshoot prepped and ready to go (and I don’t want to keep this series on hold for the week (good Lord I was naive there) or more that prepping the other three will take)
Defender:
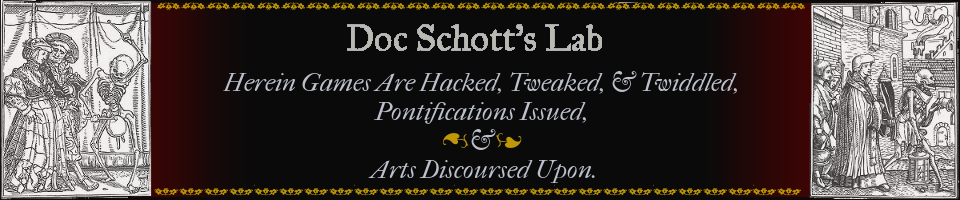
Click to embiggen for assembly notes

Reverse of sprue, showing arm keying.
Issues:
Three of the four legs are missing at least one detail. Only one is complete. In addition, two of the legs have gates on top of surface detail. You’d think, with the amount of copy-pasting going on elsewhere, that the legs would at least be identical..
Note that the leg on the right has only two strips, while the left side has four.
Another is completely missing this detail, and a third has it damaged by a gate AND is missing the vent details on the side
The body is a five-part model. It has several ugly, prominent seams that must be cleaned or filled, and leave noticeable gaps in the finished model. The searchlights on my models were also miscast, with mold lines and underflow on all four side torsos.
Gapping in the torso, hips, and arms. Torso searchlight miscasts.
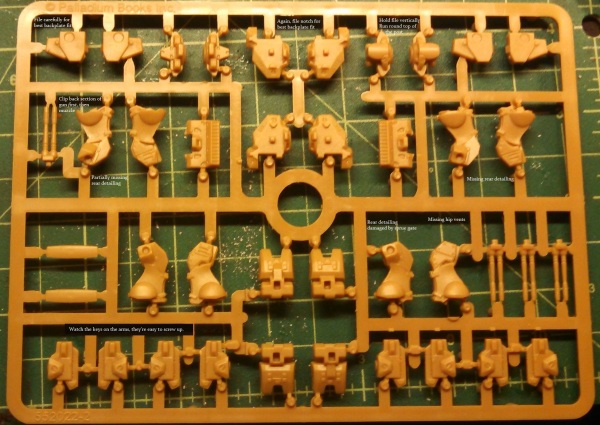
The guns have extremely thin barrels, making extracting them without damage very difficult. Cut the bases of the gun first with clippers, then slowly cut off the barrels with a very sharp knife or saw. Preferably, add some padding behind them.
The connecting peg on the hips is wider than the hole in the torso, and must be carefully filed down to allow the model to mate properly.
The hip joint mounts on the legs force them into very specific angles, but can be easily (if carefully) modified to allow other positions.
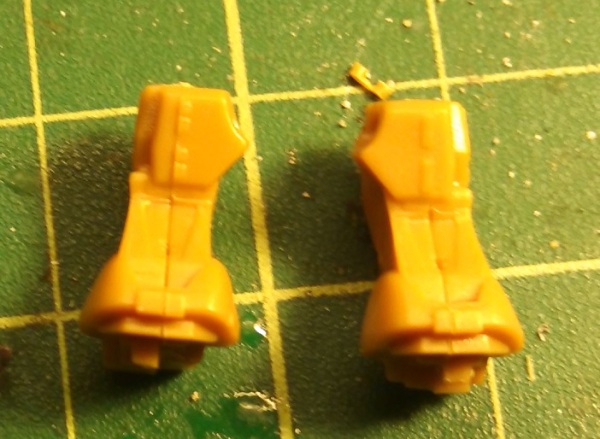
There is no mounting point for a Command Destroid modification on the Defender, and the only position in which it “fits” interferes with both the arm placement and the radar sail. I have a functioning conversion that involves cutting down the piece into three parts and re-mounting them in the radar sail area.
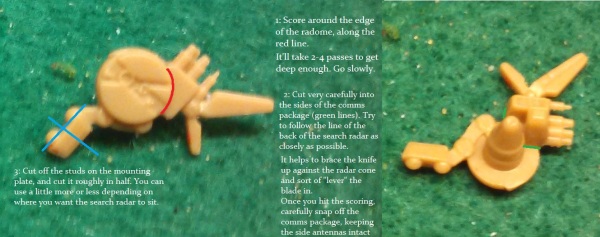
Conversion prep instructions and diagram
Once the parts are cut, you can mount the search radar on the side of one of the ammo bins, or up over the shoulder/gun area. I cut off the top of the right-hand bin and hard-mounted it to the torso, however, and I think it came out pretty well.
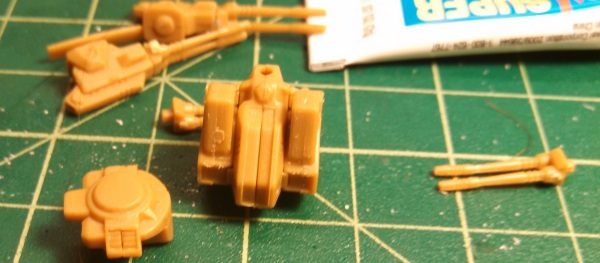
Flip around the comms package, and cut it to fit the normal radar sail mount. It won’t take too much effort, and it looks pretty good up there.
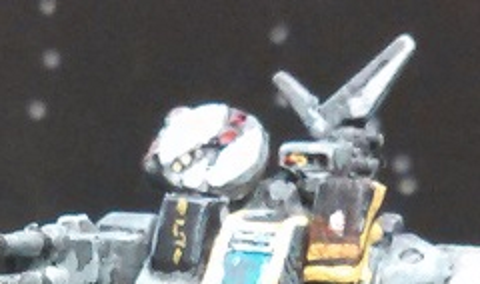
The finished product
Good Points:
The hard, flexible plastic makes the slender guns and radar blade surprisingly resilient once they’re off the sprue. The Defender’s posing is much more flexible than most of the other models in the line. There are points of articulation at the arms, legs, radar, and torso angle – all tweakable with minimum effort.
Number of Components:
Twenty. Body is six parts alone, the legs and arms are three each, and the hips are two-parters.
Assembly Time:
Prep cutting took 15 minutes, not counting the time required to pin and re-glue an o.7mm gun barrel. Torso and hips took about 8 minutes to green-stuff and align, including filing and prefits. Overall, the two models took about 40 minutes to assemble, plus 8 hours of Green Stuff drying time. With a sharp, very slender pair of diagonal cutters the pair would probably take ~30 minutes.
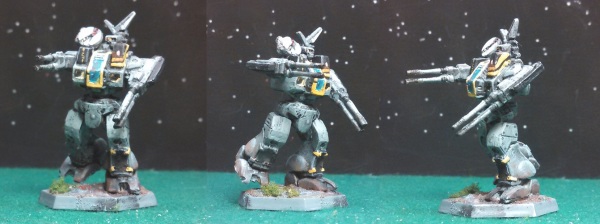
Vigilante One, reporting for duty!